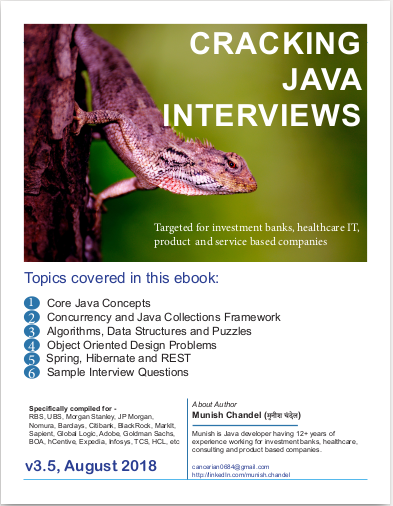
Introduction to Python 3.6 & Jupyter Notebook
Upasana | August 31, 2019 | 3 min read | 84 views
Introduction to Python
Python is a high level interpreted programming language. It was first released in 1991. It is dynamically typed language. Python uses whitespace indentation rather than curly brackets or keywords. Here, we will be setting up python 3.6 on Macbook
Python setup on Macbook
For setting up python 3.6 on Macbook, we will be downloading 64-bit installer of python 3.6 from official python downloads
Follow this link:
To download, find latest version of python 3.6 and download it.
3.6.8 is the latest version at the time of writing this article:
https://www.python.org/ftp/python/3.6.8/python-3.6.8-macosx10.9.pkg
This will download .pkg file and after that click on this file to install python 3.6 on mac OS X.
You will see this pop up when you will click on pkg file, click on continue to install. After clicking continue twice more, you will have to agree to the terms of the software license agreements.

Now you can install python by clicking on the install button

After that, you will have to fill in password on your macbook to install software.
Finally, Python 3.6 should be installed on your macbook. Now, we will verify if it is there or not.
Open terminal and write python3.6 and click enter(return)

You should see similar output for the python version, you had downloaded. If yes, then we are ready and python has been installed on your mac OS.
To exit, use exit() command or click ctrl-D
Create python project
We shall create a python project in which we will be working.
Directory structure
$ cd Documents/
$ mkdir python-app
$ cd python-app
Creating virtual environment
Install the virtual environment
$ pip install virtualenv
Create the virtual environment
$ virtualenv -p python3.6 venv
in above command, -p python3.6 will let us specify the python in the environment we are creating and venv is name of the environment which you can change to something else as it pleases.

Now, it will activate virtual environment and will be downloading all required libraries in virtual environment only.
Activate virtual environment
$ source venv/bin/activate
Jupyter notebook setup
Install the Jupyter notebook
$ pip install jupyter notebook
To open, jupyter notebook
$ jupyter notebook
This will open jupyter notebook in default browser set up on the system.
Working in Jupyter notebook
On the jupyter tab, you shall see new button the top right corner. From there, you can create a new notebook.

Now click on Python3 to open a jupyter notebook specific to only python3.

To rename jupyter notebook, click on Untitled

After giving a name, click on Rename to save the new name.
In jupyter notebook, every cell can be of 4 types.
-
Code
-
Markdown
-
Raw NBConvert
-
Heading
To run cell, you need to click
shift + return(enter)

Default type is always Code and if we want to add notes then we can use Heading to give a heading to the content or the process in the script. Then we can use Markdown for notes.
We can use Raw NBConvert when we want to keep code as it but just don’t want to run it.

As above, you can see. 1st cell is default code type but 2nd one is Raw NBConvert.
To add heading, we will add some random text and choose heading from options on the top.


Top articles in this category:
- Installing PySpark with Jupyter notebook on Ubuntu 18.04 LTS
- Creating AWS Lambda using python 3.6
- Python coding challenges for interviews
- Flask Interview Questions
- Connect to MySQL with Python 3.x and get Pandas Dataframe
- Connect to Postgresql with Python 3.x and get Pandas Dataframe
- Connect to Cassandra with Python 3.x and get Pandas Dataframe
Recommended books for interview preparation:
Book you may be interested in..

Book you may be interested in..